
Build a Test Garden to Hone Your Metal Detecting Skills
Published by Carolyn Yohannes on 12/02/19
Are you inspired by stories of amazing finds people have uncovered using metal detectors? Maybe you’ve seen the articles about how someone made a nice chunk of change by unearthing ancient coins or artifacts from lost cultures.
Creating a Test Garden
If you want to practice metal detecting at home, consider creating a test garden.
Creating a test garden requires some physical labor, but it isn’t as hard as planting a garden for flowers, shrubs, fruits or vegetables. You want some vegetation left on the ground to make it more challenging, but you also want to be able to reach your targets once the metal detector goes off.
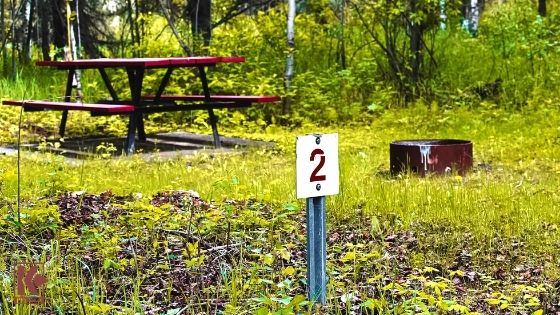
Mark Your Test Site With Markers
- Use your metal detector to completely clear the soil of any existing metal objects from the area you are going to use for testing. You don’t want anything to ruin your progress.
- Mark off your test site with markers or plants to ensure that your test garden won’t see a lot of foot traffic.
- Clear bigger shrubs and vegetation from the area.
- Once the area is cleared, gather a bag of metal targets of various metals, sizes, and worth. Use old coins, hair pins and, if possible, purchase a bag of targets.
- Dig holes throughout your test garden and “plant” your metal targets anywhere from two to 15 inches below the ground.
- Spread the dirt back over the holes and give it a couple of days so that vegetation and grass start to grow back.
Using Your Test Garden
Once you’ve “planted” your garden, the real fun begins. Most all-purpose metal detectors have preset search modes. Some of these include the Garret AT Pro, Nokta Makro Simplex, or the Minelab CTX 3030. Choose one of those to start with and swing your metal detector over your garden. Harnesses are available that distribute the weight of the detector if you find yourself getting tired.
- Start off by performing air tests. Swing your metal detector over items like coins and jewelry above ground so that you know what tones your detector will make. A metal detector will emit a different sound for different types of metal finds.
- Move on to the buried items.
- Log what you found and describe the sound, as well as the number displayed if your metal detector has a digital interface.
- If you want to move beyond the preset search modes, use this time to optimize your search settings.
- Newly buried coins may be hard to detect. That’s because of something called the halo effect. When a coin is buried for a long time, some of the metal properties “leak” into the ground, giving off a stronger signal. The longer your coins are buried, the more easily you’ll find them later!
Maintaining a Test Garden
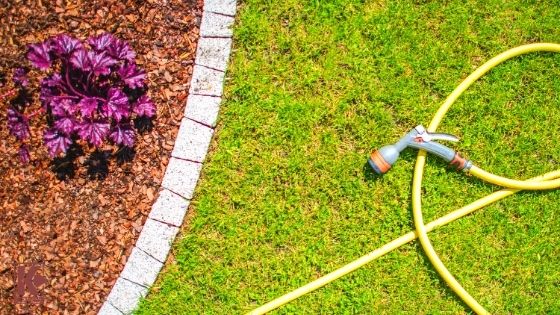
Water Your Garden
Even though your test garden is just a test, it still requires basic maintenance. It’s easier to find hidden metal under the ground when it’s barren with no vegetation getting in the way, but you won’t find that when metal detecting in the best places, like the woods or even around the beach.
Make sure to water your garden. Keep a garden hose nearby with a hose reel. Not only does this keep your hose from being an obstacle, it will also prevent it from being kinked.
Conclusion
A test garden will not only give you time to get used to your metal detector, but it will also give you all of the benefits of gardening for relaxation and stress relief.
Start your test garden today and get one step closer to digging up some real treasure. Maybe the next person to dig up a great metal detecting find in the news will be you! And if you don’t feel like creating your own metal detector test garden, you can always visit us at our Florida showroom and use our very own indoor test garden!